Pink P-90 guitar -- part 1
I don't have any guitars with P-90 pickups. But based on some YouTube clips, I think I'd like the sound.
So, around early February (i.e. a month and a half ago) I decided I'd retrofit a P-90 into a spare guitar. Eventually.
In other words, putting a P-90 in a guitar was on my "Someday" list: eventually I'd mail-order a P-90 or two (I'd already selected the website to buy from). But then in early March I saw an ad on Gumtree for a used P-90 at half the price of a new one -- so I picked it up on Sunday, March 8th. And with that purchase, installing a P-90 was suddenly on my "The Next Few Weekends" list...
Here's a snapshot of the pink guitar that's the core of this project -- a "fake Strat", as I tend to call them. Usually I don't like altering perfectly good guitars -- I like to leave them as I found them -- but this one already had two of the knobs broken off (purple arrows). So I'd have to repair the electronics, anyway.

Since I only have one P-90, I knew I'd be creating a single-pickup guitar. I'm fine with that: there's a fair amount of precedent for guitars with a single pickup:
-My "main" guitar has two humbuckers mounted -- but only the bridge pickup works. And I like the sound.
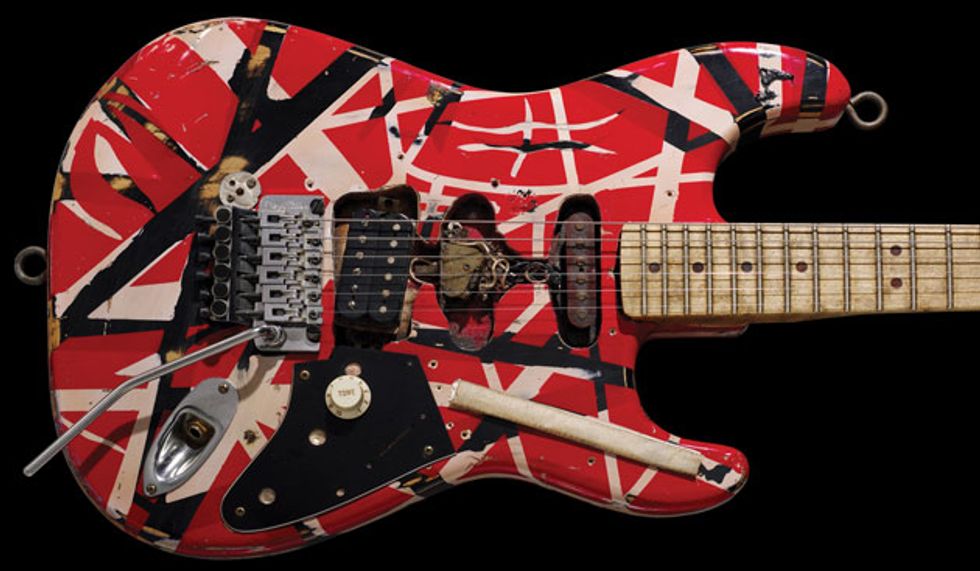
-Eddie Van Halen's "Frankenstrat" only has a humbucker in the bridge position (the single-coil at the neck is non-functioning; it's just cosmetic).
-And, for the last half-year I've been daydreaming about Les Paul Jr.s -- which only have a single, bridge pickup (a P-90, generally).

So, between March 8th and now (which is Sunday, March 22nd), I've worked on retrofitting the P-90 into the pink guitar. I **was** going to present this project all in one blog entry -- but the process is taking longer than I expected. So, this is "Part 1". :)
Here's the guitar with the faceplate (as well as the pickups and electronics) removed, and the P-90 resting across the cavity, as a size comparison. I've slid the P-90 as far into position as I can -- but it doesn't align properly with the two lengths of fishing line I've strung to represent the outermost guitar strings. So, I'm going to have to widen the cavity for the pickup to fit correctly.

Because I have only one pickup, I'm going to set up the mounting plate to slide, so that I can adjust the pickup position. As I mentioned above, I know from my playing style that I'm fine with just one pickup -- but because I haven't used a P-90 before, I want to be able to experiment with whether it sounds better mounted in the neck, middle, or bridge position. If I occasionally want to change the pickup position, I'll just loosen the screws, slide the plate, and re-tighten.
I'll be using one of the below pieces of plexiglass as the mounting plate -- but, re-shaped. These pieces of plexi are one of my (many) "salvage" finds. I found them easily: they were exactly where I knew they would be.
They're clear, so I'm going to make the guitar wiring a "feature" -- something to highlight, rather than to hide.

Back to the actual guitar. Here, I've laid out masking tape, and marked out the necessary width for the pickup. It's about a pinky's-width on each side.

This is the guitar, clamped to my portable workbench, with blocks of wood to protect the fact of the guitar (and an old shirt underneath, to protect the back). This is under the carport, and I'm just finishing my hand-chiselling away the excess wood. You can see the wooden mallet, made by my (late) paternal grandfather, lying across the neck of the guitar.

As you saw in the photos above, the inside of the body was painted a light pink. But because I chiselled away some of the wood, there were two strips with bare wood. Given that I'm using clear plexiglass as the mounting plate, I didn't like that.
Plus, I wanted the wiring to have a lighter background than the pink -- so that the wiring shows up more clearly, in contrast. As I mentioned, I want the wiring to be a feature. So, I re-painted.
Here I've masked off the body cavity, and painted it an undercoat of green.

While I waited for the paint to dry, I returned to the mounting plate: I've put masking tape on it to make the layout easier, and have marked out where I'm going to make my cuts.

Back to the guitar (the next day!). Here I've removed the masking, and placed fresh masking tape to map out where the screws for the "tracks" in the mounting plate will go. You can also see the result of my second coat of paint: a light dusting of white, so that the green undercoat shows through.

I then made some cuts to the mounting plate (but forgot one! Will have to do it next time), defined the locations of the screw slots (for sliding), and marked out the approximate position for the pickup (which I then moved to the right a little bit).
Here's the mounting plate in the "full bridge" position:

And, here it is in the "full neck" position:

That's it for now. I have some ideas for the electronics -- but I'll discuss those next time, once I have supporting photographs.
Clue: I have a stash of various electronic components, so I already had a few double-pole, single-throw switches to choose from. But I needed to visit the hardware store today to pick up another type of switch.
--GG
Labels: electric guitar, guitar pickups
posted by Gye Greene @ 7:09 PM
![]()
![]()


0 Comments:
Post a Comment
<< Home